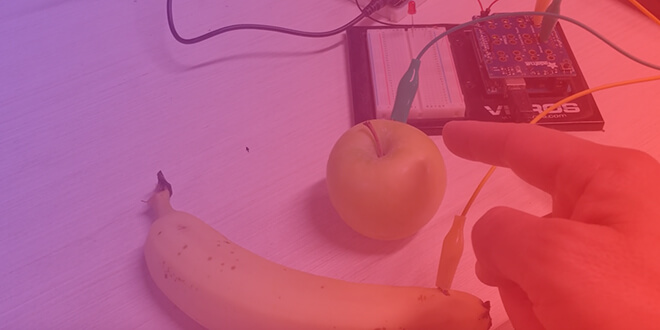
Capacitive touch experiment: Triggering samples with fruit
I was able to carve out two hours out of my weekend to finally look into the capacitive touch gear I bought on Adafruit almost a year and a half ago ????
I had ordered a 12 x Capacitive Touch Shield for Arduino (MPR121 chip) and the handy alligator clips that are sold separately. I wanted to build the cliché fruit synth or drum machine: By connecting pieces of fruit to the shield via the clips, one is able to trigger some sound samples.
The missing part was the audio sample. For that, I reused the Audio FX Sound Board I had used for a different project. The audio samples were still in the memory:
How does capacitive touch work?
A capacitive touch sensor is able to detect if there is a change in capacitance upon contact with one of its electrodes (through the alligator clips in this example). The clips needs to be attached to a solid that will conduct electricity: Fruit, a human body, etc.
Adafruit also sells conductive fabric or conductive glass (ITO (Indium Tin Oxide) Coated Glass) so the possibilities are really endless.
The shield features a handy reset button. When you’re connecting the clips to the conductive solid, the sensor will most likely trigger. Once the clip is in place, hitting the reset button re-establishes the baseline capacitance. As I said, handy.
Connecting it to the sound board
Working with the sound board again was a lot of fun. Creating the audio files can be a bit tedious but since I still had samples loaded on this one, I skipped this step for now. There are plenty of free sound samples online and a little time on Audacity should be enough to hit the right format and bitrate.
The MPR121 chip requires the right Arduino library but it is provided by Adafruit in a GitHub repo. The example code is easy to repurpose. A loop goes through each of the 12 electrodes and assesses if there is contact or not. It’s fairly easy to cut the loop short if you’re using less than 12 electrodes and make the sketch a little bit more performant.
The final thing looks like this:
What next?
I’m going to play with this with my kids for a while. That should be fun. And then I’m going to think about this setup as a trigger for other things. Right now, I really want this to trigger some Processing sketches that I’d like to project. More to come…