
Block printing: first steps
Have you already experienced digital saturation? When Zoom plus email plus social is just too much? I did last week, and I needed an analog break. So I tried something that I had never tried before.
But first, let’s talk about The Great Wave.
The Great Wave
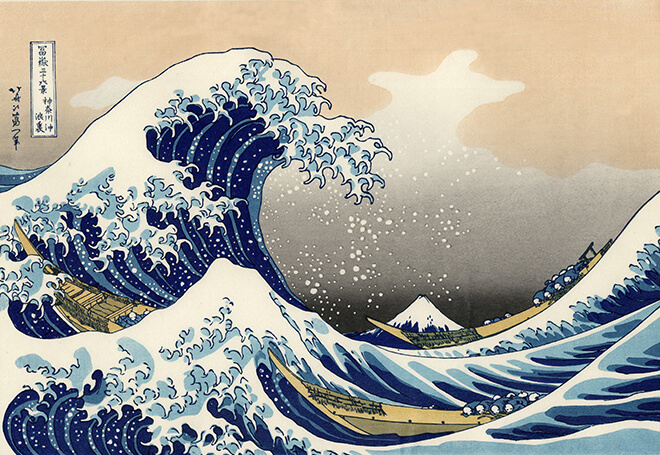
Modern recut copy of The Great Wave off Kanagawa, from Katsushika Hokusai’s 36 Views of Mount Fuji.
It is beautiful and terrifying, with dozens of foam hands reaching for the fishermen.
The blues are almost magnetic: Hokusai used 3 shades, including Prussian blue, that had to be imported from England through China. Debussy was so fascinated by The Great Wave that he put a copy on the cover of his score for La Mer, perhaps admitting an influence.
Of course, we’ve seen this piece everywhere (it’s an emoji!), but it doesn’t seem to lose its force.
I am writing about The Great Wave because it is both the way the World feels right now, and a stunning example of block printing (the piece required 7 consecutive layers!)
What is block printing?
Block printing originated in East Asia around the 2nd century CE. The idea is simple: First, a negative print is carved in a soft block (wood, linoleum, etc.). The block is then covered in ink and applied on the surface, like a stamp. Depending on the technique, one can also press the surface onto the inked block.
This video by the Art Institute of Chicago on Gaugin’s woodblock print process (no sound) is a good illustration:
Pre-Raphaelite brother William Morris used block printing for his iconic Victorian wallpapers. This video (again, with no sound! A museum thing?!) shows the process in detail:
https://www.youtube.com/watch?v=fAy_imtiqVM
The kiddie version
I needed to get my hands dirty, last Friday, and I asked my wife if I could borrow the equipment she uses when she teaches art to kids.
Instead of linoleum or wood, she uses styrofoam sheets that are easy to cut and carve. She also gave me some black ink, a reused styrofoam tray, and two brayers. I printed on 5.5″ x 8.5″ index cards.
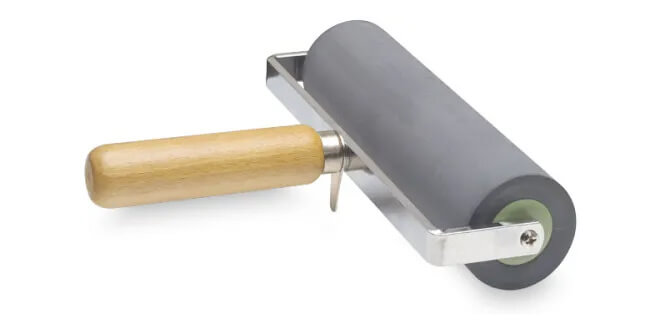
Brayers are super fun.
I had no idea what I was doing, and that was the point. I let the material lead, and the first piece was, of course, botched.
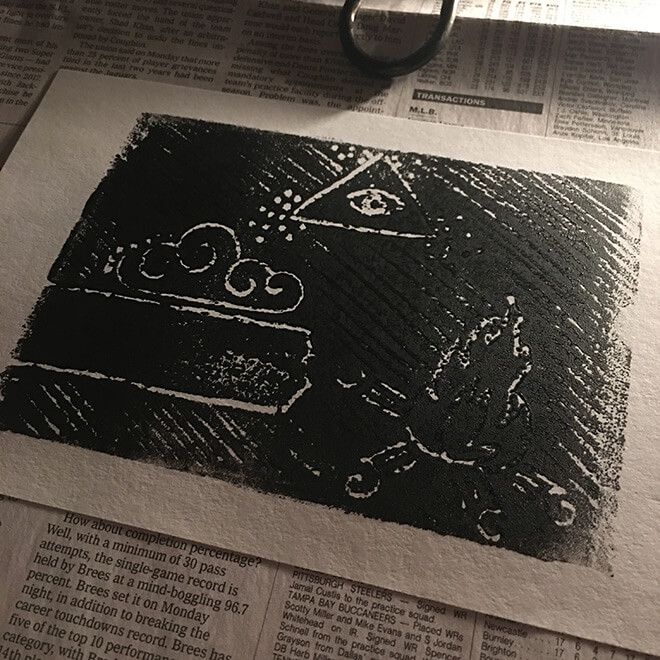
I didn’t carve the details deep enough in the styrofoam, and they got drowned in ink.
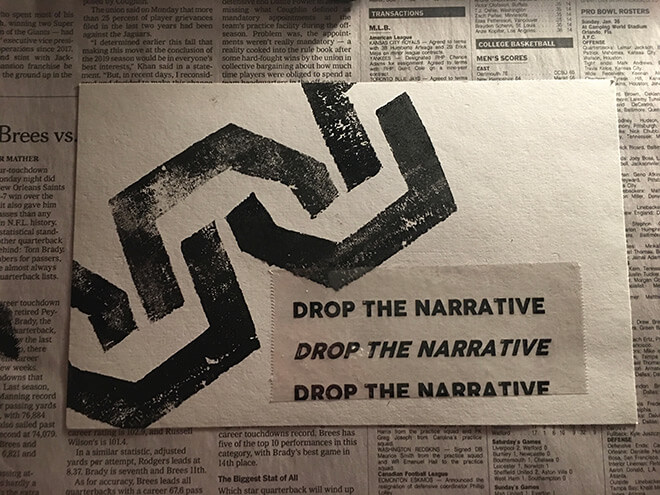
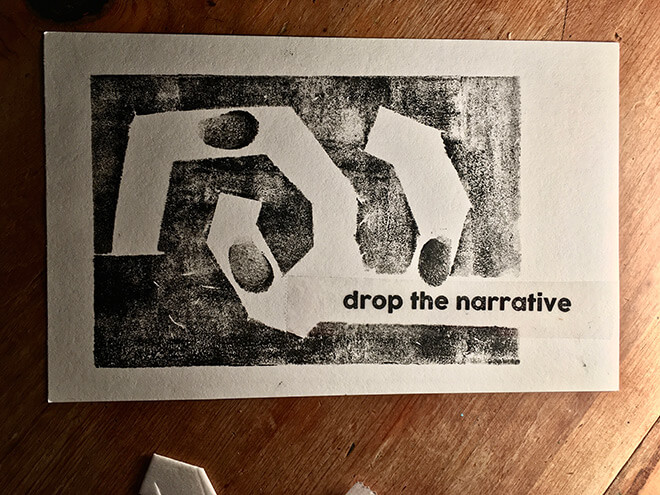
For the second piece, I wanted an element of typography. The week before, I had showed the clear tape technique for image transfer to my kids, and that’s what I used to print some text. I cut a random shape and printed it multiple times. I didn’t even realize that I made what looked like a chain.
For the last piece, I used the rest of the styrofoam sheet and cut more shapes. I made a tiny stain while pulling the block from the index card. There was no way to erase it, so I covered it with a print of my pinkie. And I added two more. It’s funny how fingerprints suggest a direction.
It was a simple, impulsive process, and it felt great. Next, I’ll try with grown-up blocks.
What do I need to start with block printing?
Here is a list of supplies, available at BLICK (Note: I participate in their affiliate program):
- Grab some water-soluble block printing inks, so if things get messy, you won’t ruin your favorite jeans. If you’re interested in printing on fabric, they also make inks that can do both.
- You’ll need a block to carve: maple, E-Z-Cut, linoleum, etc.
- As I mentioned earlier, brayers are fun, and you’ll need one to ink the blocks.
- Barens help press the block against the surface, but you can also use a second, clean brayer for that.
- You’ll need an inking plate to roll the brayer on. I like this inking plate/bench hook combo that you can use to both ink and hold the block you’re carving.
- Talking about carving, you’ll need something to cut the lino, wood, etc.
- I used index cards, but there’s a paper that works better for block printing.
- Does that sound like a lot of decisions to make? Grab a kit.
Your turn!
Give it a shot. Don’t overthink it. Get your hands dirty and let them decide.
Have you made block prints before? I’d love to see them! Reach out on Twitter where I am @tdnvl.