First real block printing project: Night bathing at Esalen
A month ago, I was discovering block printing. I have since graduated, and I went from kiddie supplies to grown-up printing!
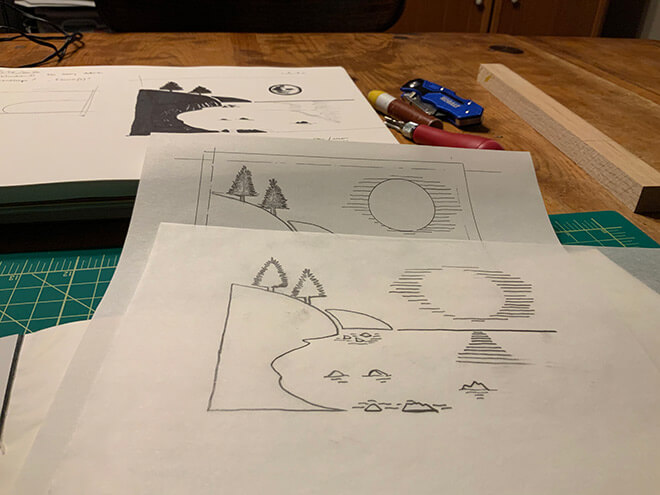
I ordered some art supplies from my favorite art store and started sketching. I tried some typography, some animals, and some hands. Nothing worked. But I wanted to have something printed within the week (I promised my newsletter subscribers I’d send them a free print in the mail), so I settled for a landscape scene.
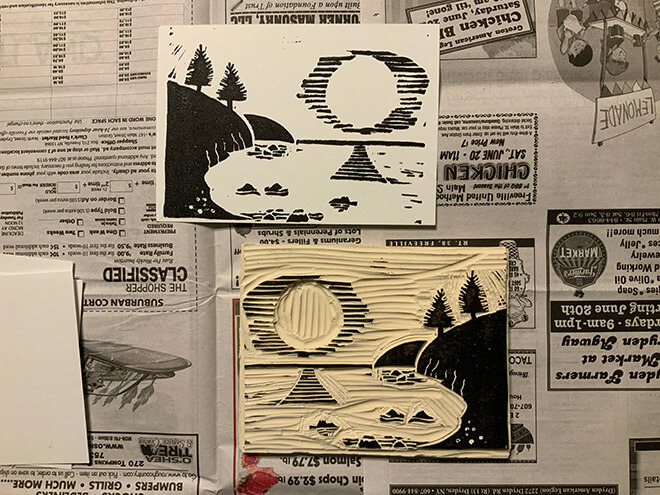
One of my most beautiful memories is night bathing at Esalen on the eve of our wedding. The moon was full, the sky was clear, and all we could hear was the Pacific Ocean crashing against the rocks below us.
I decided to capture this scene for my first print.
The process was straightforward:
- draw (inspired by a photograph)
- trace
- transfer on the E-Z-Cut block
- cut
- ink
- print!
I’ve compiled a supplies list in a previous post.
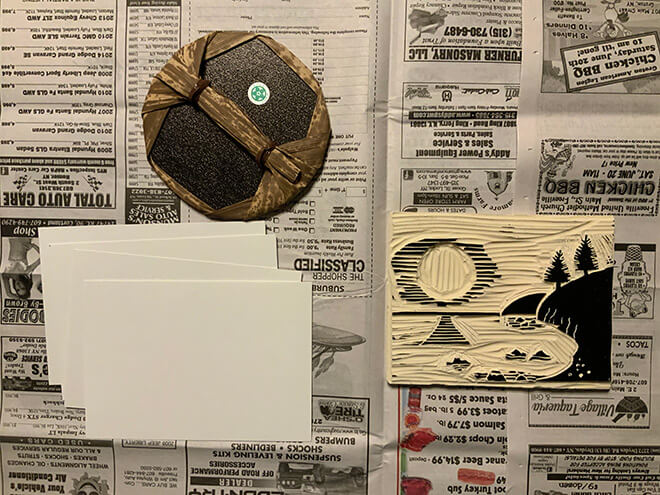
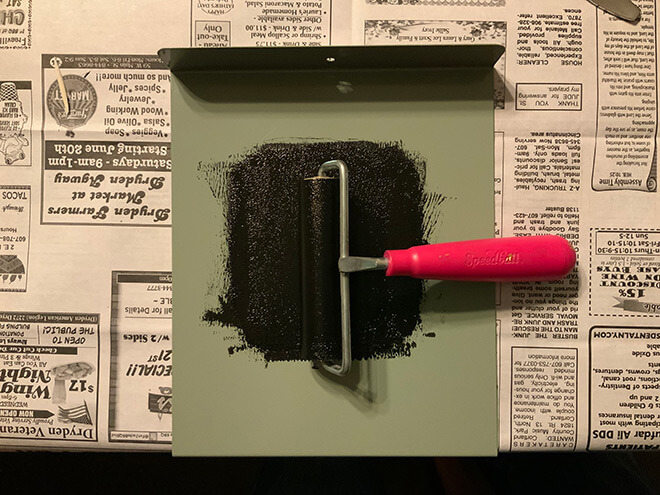
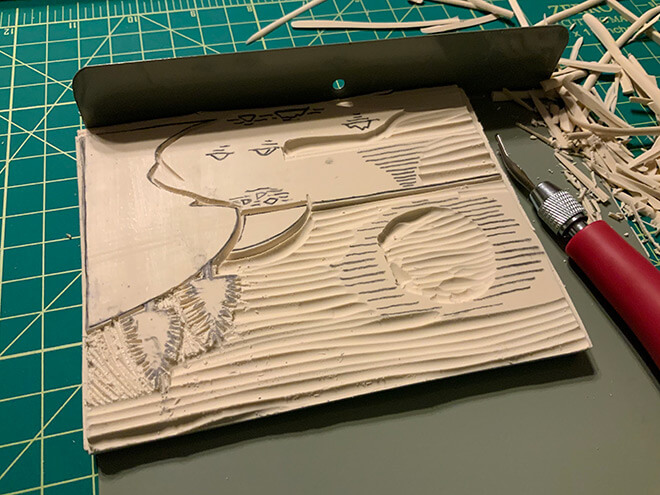
In photos, it looked like this:

And a print! Inked block, paper, and cheap Japanese baren. Time to ink with the brayer. Cutting cont. Starting to cut. Sketch, drawing, and traced drawing for transfer.


What I’ve learned
Insights kept hitting me as I was drawing or cutting. I am sharing what I’ve learned or what I need to think more about:
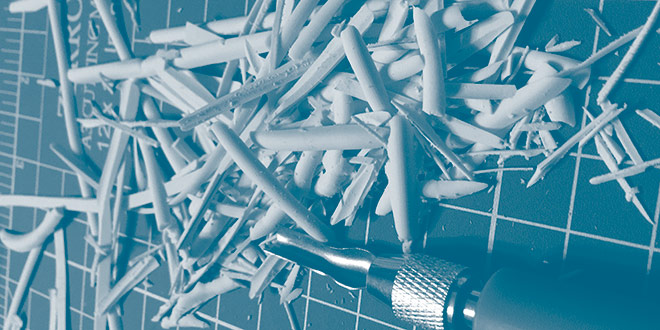
While cutting, how deep do you want to go?
If you’ve looked at block prints, you’ve noticed random lines going across surfaces of negative space. These are edges between two cut marks that caught some ink and printed. When I started cutting, I started asking myself: How safe do you want to go? Cutting deeper would mean less random print marks, I thought. I went that route for this first print. I’ll experiment with this because I feel that these marks are idiomatic.
Which tool should you use?
The cutter that I bought comes with five blades. They are different in shape and size. I instinctively used a bigger blade for large surfaces, while I switched to a small one for details. But this choice, in itself, is an element of style. I will experiment with using more or less tools when cutting and see where the prints go.
Don’t draw
It is very tempting to use the cutter to “draw:” Your piece is neatly transferred onto the block, and you could stick to a tiny blade and use it to remove the material as you would draw with a pencil. I feel that this would be a mistake: Switching from a pencil to a cutter is a change of medium, and new rules should apply. I will trust more the medium and use the drawing more as a suggestion than something I need to reproduce correctly. Again, I expect the results to be more idiomatic.
Balance
In my print, I cut a lot of negative space: the sky and the ocean. The only protruding shapes are the moon, its reflection, and a few rocks. When I started inking the block, I realized that these protruding shapes bring balance to the brayer, and a lack of balance means that you could ink areas by mistake—areas that have been hollowed out. Balance in the composition should make for a smoother inking.
And a few random block printing thoughts
- How much ink do I put on the brayer?
- What kind of pattern should I use when I apply pressure on the paper with the barren?
- How do I pull the paper from the block? Does speed matter? should I pull on opposite sides at once, or peel the paper off?
So much more to try
Trying a new thing is elating. Block printing is both straightforward (you’re marking a stamp!) and extremely complex. I am barely scratching the surface, but the rate of learning (the true meaning of the learning curve) is a powerful drug. I will print more and share what I’ve made with you. Will you share what you’ve made with me?
Don’t forget to make stuff.